How to Tweak Your Slide Definition Based on a Pathologist’s Preference
Stain intensity requirements are often driven by the pathologist’s learning experience and personal preference. Since many labs support multiple pathologists and have multiple lab technicians working in shifts, it’s important that each technician be able to meet the needs and preferences of each pathologist on duty when given a specific specimen.
In this post, we dive into tweaks you’re able to make to routine stains for each of these common specimen types. Click to jump to each section of the post.
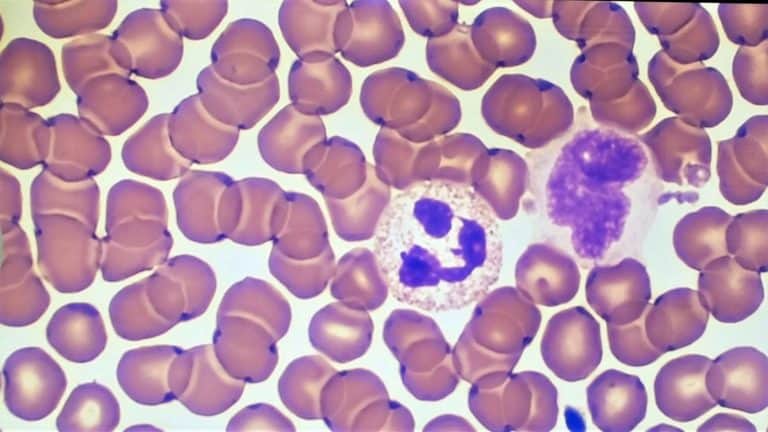
- Wright’s or Wright-Giemsa stains for hematology
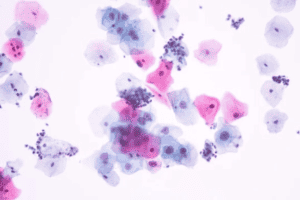
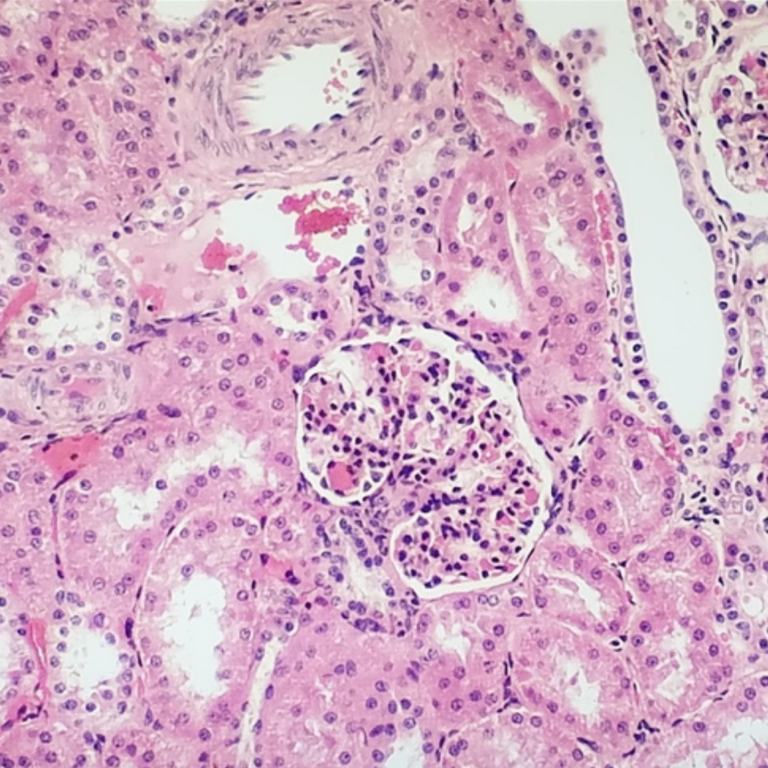
- Harris or Gill’s Hematoxylin & Eosin stains for histology or cytology
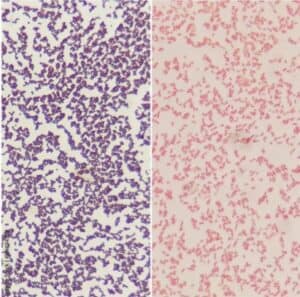
- Gram or Acid Fast stains for microbiology
Download our ebook, Lab Technician’s Guide to Troubleshooting Common Issues with Biological Stains, for more ways to adjust your procedures and protocols for these biological stains.
Hematology – classical or automated Wright & Wright-Giemsa stain:
How to adjust if basophilic definition is poor
Try one of these solutions if your pathologist prefers stronger, more defined, more “blue” staining when using a Wright or Wright-Giemsa stain:
- Reduce the time between preparing the smear and fixation. If the slide is not fixed quickly enough, the intensity of the stain will decrease.
- Change out the stain/buffer solution. The most important part of the procedure for a well-defined basophilic stain is the stain/buffer mix (usually 1:5; 20% stain, 80% buffer). You might initially think to change out the 100% stain solution, but the actual staining takes place in the stain/buffer solution. If the stain/buffer solution has not been changed in over six hours, it’s time to change out the solution to ensure stain generates the right level of intensity.
- You can also increase the concentration of your stain/buffer solution. Some labs prefer to use a 1:10 ratio (10% stain, 90% buffer). Increasing the ratio of stain to 1:5 (20% stain, 80% buffer) can often improve definition.
- Switch from 6.8 to 7.2 buffer. The stains and the buffer – in combination – make the definition between nuclei and cytoplasm more intense. Tweak the buffer combination based on what you want to see under each stain. If you’re looking for a more eosinophilic definition, choose a 6.8 pH buffer. If you’re not getting the definition you’re seeking or want a more basophilic intensity, switch from a 6.8 pH to a 7.2 pH.
How to adjust if eosinophilic definition is poor
For basophilic staining that is too strong or “too blue,” or if the pathologist is saying that the stain isn’t “red enough,” read our post “How to Fix Wright’s or Wright-Giemsa Staining That’s Too Strong.”
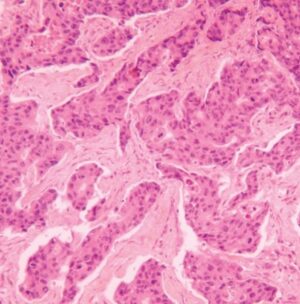
Histology or Cytology: Harris H&E stain or Gill’s H&E stain
How to adjust if basophilic staining is poor
Weak basophilic (nuclear) staining in an H&E stain is caused when the hematoxylin is too weak or wasn’t exposed to specimen long enough. Here are some tips:
- Increase exposure time in hematoxylin
- Minimize any carry over of water to the hematoxylin solution
- Make sure the paraffin wax completely dissolves from the tissue prior to staining
- For Harris H&E only: make sure the acid alcohol concentration isn’t too high, therefore removing too much of the hematoxylin
Read more on this topic in our post “How To Improve Nuclear Staining in Histology Slides.”
How to adjust if eosinophilic definition is poor
There are several reasons for weak eosinophilic staining in your specimen.
The specimen was not exposed to the eosin for enough time. Naturally, the specimen wouldn’t have enough time to absorb an effective amount of the eosin, causing it to appear to light, or weak, on the slide. To fix this issue, adjust your procedure to extend the exposure time in the eosin solution or select a higher eosin concentration to use.
The specimen was subject to an exhausted eosin solution. The eosin solution will need to be discarded and replaced with a fresh eosin solution.
The alcohol used for rinsing was not selected appropriately for the staining procedure. If a lower concentration of alcohol was used (i.e. 70% ethanol) it will extract more eosin from the tissue section than needed. Replace with a 95% ethanol rinse after staining in eosin solution.
The specimen was exposed to an eosin with an increased pH (greater than 4.5). Confirm pH is between 4.0 and 4.5. If needed pH can be adjusted by adding fresh eosin or adding concentrated acetic acid.
Read more on this topic in our post “How To Improve The Definition and Intensity of a Wright’s or Wright-Giemsa Stain.”
Microbiology: Gram stain
Decolorization leading to false gram-positive appearance
Typically, a misdiagnosis of Gram stains is due to issues with the stain protocol. These issues can cause Gram stains to decolorize too quickly (falsely suggesting Gram-negative bacteria). Here are four of the first protocol fixes we recommend to adjust for better distinction in Gram stains:
- Reduce heat during fixation
- Reduce water rinse time
- Increase iodine exposure
- Reduce time in counterstain
We dive further into this subject in our post “7 Reasons Your Gram Stain Is Decolorizing Too Fast.”
Slow decolorization leading to false gram-positive appearance
If the Gram stain is falsely positive, it is decolorizing too slowly. If you don’t decolorize quickly enough, or keep the colorizer on too long, you’ll get a false negative for the Gram positives. Adjust the time the specimen is in the colorizer and remove it sooner to avoid this issue.
How Ethos Biosciences Can Help
At Ethos Biosciences, we are known for providing top-notch service and quality to our customers’ lab technicians. No matter the complexity of the issue, we get to the root of the problem and help you to solve it as quickly as possible, ensuring your lab is back up and running so you can serve patients again.
Our commitment to service
We have trained experts on our staff with deep knowledge and experience using dyes & stains in laboratory settings. Therefore, they are able to understand issues and come up with quick, executable solutions. Most suppliers (lab product distributors and general reagent manufacturers) do not have experts on call as resources for lab technicians with the skills or experience technicians need for assistance. Additionally, we understand the frustration and urgency you may be feeling when you are having issues with stains. We’ll quickly help you find a solution or a new product immediately while we help investigate the issue.
We also help assess your protocol and suggest modifications if it needs tweaking to enable you to achieve the best staining results for the specimen and your pathologist..
Our commitment to quality
Our commitment to quality is why we offer on-staff experts in the fields of hematology, histology, cytology, and microbiology. Here are just a few ways we’ve committed ourselves to quality for our customers:
- When we do performance testing, we test our dyes and stains using the instruments technicians are currently using in the field. You could easily test the chemical formulation to make sure the dyes concentration is adequate, but we go one step further and test our products in-use (manually and on auto-stainers) to make sure they meet our performance criteria of excellent intensity and differentiation of target cellular components.
- We are fully integrated and produce our own dyes, allowing us to control the process and product quality. In addition, we find ways to decrease lot-to-lot variability by sourcing our raw materials in large batches. You get the same consistent, high quality performance with each shipment. In fact, consistency is a key performance indicator we measure against.
- To avoid particulates in the stains, we perform gravity filtration as opposed to pump filtration – and use filters with a 0.2 micrometer nominal pore size. This keeps particulates to a minimum.
Download the Lab Technician’s Guide to Troubleshooting Common Issues with Biological Stains to solve problems you’re seeing with hematology, histology, cytology, and microbiology stains in your lab. We’re here to help if you have any questions.

