How To Set-Up and Conduct a Wright’s Stain
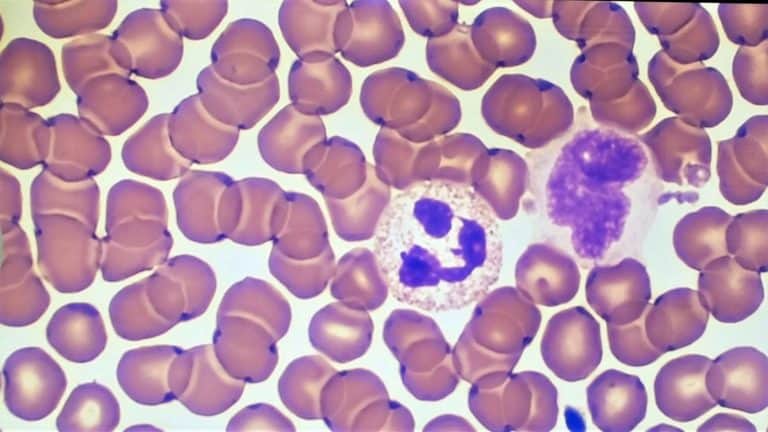
Wright’s, Wright-Giemsa and Giemsa stains follow the same protocol, with the second step being swapped for the preferred stain. The Wright-Giemsa stain is the most commonly used Classical stain and is formulated to produce more intense basophilic/nuclear staining in blood cell morphology. If you’d like to adjust to a more eosinophilic or less intense stain, select the Wright’s stain for your specimen.
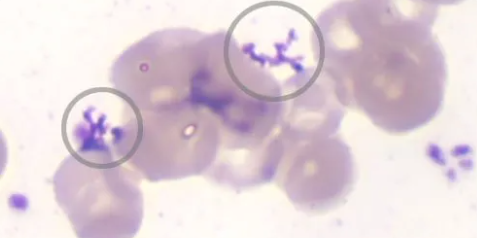
The Giemsa stain is used for assessing bone marrow specimens if the Wright-Giemsa stain is not distinct enough. It is also the main stain used for testing for malaria. This stain can help raise the intensity of the nuclear staining to be more basophilic.
Protocol for Wright’s, Wright-Giemsa, and Giemsa stains: 6 steps
- Fix the blood smear and stabilize it on the slide using methyl alcohol.
Fix the smear in the fixative for 30 seconds.
- Submerge in the straight stain.
Stain for two to three minutes. You may either use Wright-Giemsa stain or Wright’s stain, depending on your pathologist’s preference for the blood morphology appearance. For bone marrow specimens, choose Giemsa stain.
- Submerge in the stain/buffer mix (1:10 or 1:5 stain to buffer ratio) using a pH 6.8 buffer.
Protocol typically calls for approximately five to six minutes in the stain/buffer mix. This is where most of the staining takes place. Beyond six minutes in the mix will not add intensity to the stain. You can also switch to a ph 7.2 buffer for more intense basophilic staining.
- Rinse in DI water or buffer
Rinse for 30 to 60 seconds. We recommend using buffer or DI water to control for varying pH levels in tap water.
- Dry
Air dry for approximately three minutes.
- Place a drop of immersion oil on the slide to read.
We recommend using a low viscosity oil for the best results.
If you’re not seeing the stain intensity or definition you’re looking for in the Wright’s stain, read our blog post for more information on adjusting or correcting the definition for a Wright’s or Wright-Giemsa stain in your laboratory.
For additional protocols, read our Quick Reference Guide to Common Laboratory Biological Stains.
Quick stains
Quick stain, a rapid hematology stain and alternative for many hematology stains, is often used on specimens if you are looking for a faster result. These stains are used for assessing the same specimens as a Wright’s or Wright-Giemsa stain, the exception being bone marrow assessments. This is the protocol for our Quick III stain.
Protocol for Quick III stain: 7 steps
- Fix the blood smear.
- Stabilize the slide for five seconds in straight methanol fixative solution.
- Blot the slide vertically.
Blotting vertically reduces carryover.
- Submerge in Eosin Solution I for up to five seconds using five, one-second dips.
- Blot the slide vertically.
Blotting vertically reduces carryover.
- Submerge in Solution II: Methylene Blue for five to eight seconds using one-second dips.
The longer you leave it in Solution II, the more basophilic the specimen will be. Past eight seconds doesn’t make a difference in appearance.
- Rinse with DI water.
Rinse for 30 to 60 seconds. We recommend using DI water to control for varying pH levels in tap water.
- Dry.
Air dry for approximately three minutes.
Prevent Quick or 3-step differential stain eosinophilic staining that is too intense by trying the techniques in this post. If you find the Quick stain not intense or basophilic enough, consider switching to a Classical stain, such as the Wright’s or Wright-Giemsa, to get the preferred appearance. Our ebook, Lab Technician’s Guide to Troubleshooting Common Issues with Biological Stains, also covers common appearance issues with stains including the Quick stain, and can help you identify and try some alternative protocols.

